Click the icon on the left for the Full Menu.
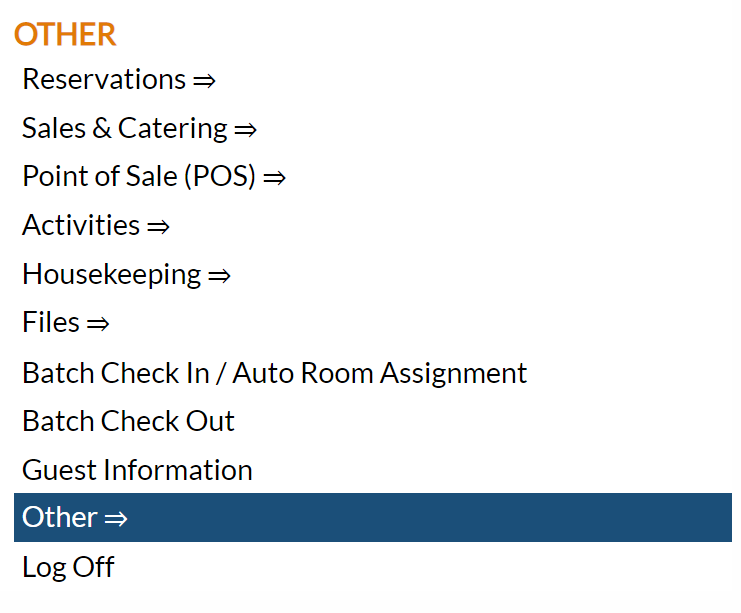
This will display the Full menu in a tabular form, with four sections, Registration, Status, Cashier and Other.
Select Other from the Other section.
This will take you to the Other Front Desk Tasks Menu, which has four sections, Other List 1, Other List 2, Documents and Web.
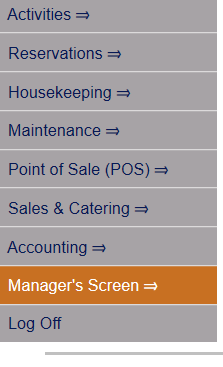
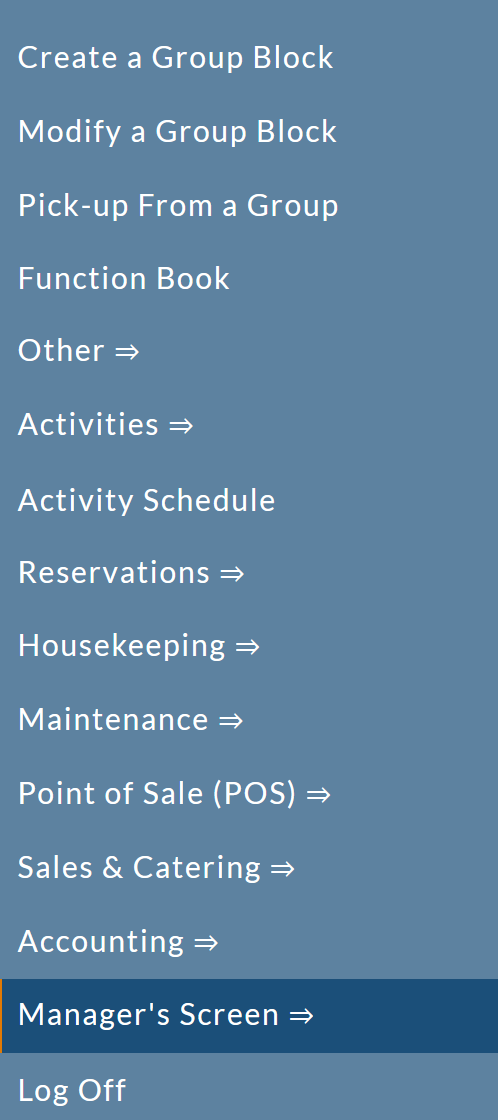
Select Manager's Screen to be taken to the Manager's Command screen.
OR:
Select Manager's Screen from the Quick Menu on the left side of the screen, to be taken to the Manager's Command screen.
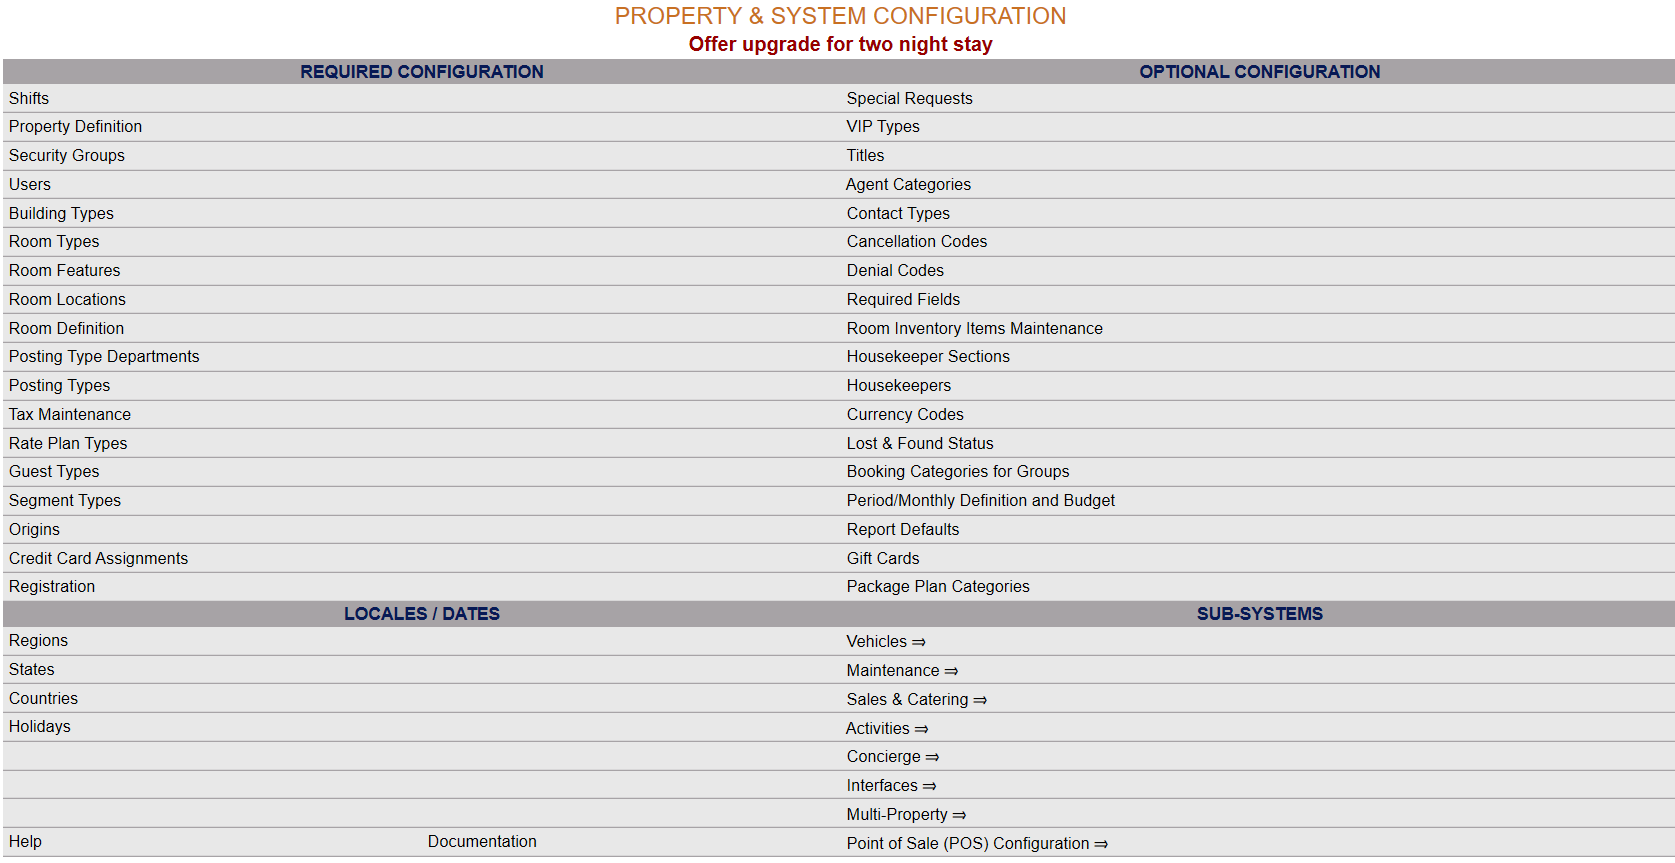
The Manager's Command screen menu has two sections, Manager's Configuration and Manager's Maintenance. Select Configuration => from the Managers Configuration section to be taken to the Property and System Configuration screen. The list of property configuration options are divided into four sections, which are Required Configuration, Optional Configuration, Locales/Dates and Sub-Systems.
(Alternately, you may also be able to select Configuration => directly from the Quick Menu, if the menu has been set up to include the Configuration option).
Select Report Defaults from the Optional Configuration section.
When selected, the Report Defaults screen will open:
Note: If no defaults have been added as of yet for any report, a pop up window informing you that no records currently exist will appear.
Click "OK" to continue to the Report Defaults screen.
The currently configured options are displayed by:
Report Name: The type of the report that the selected defaults will be applied to.
Your options include the following:
Generate a new entry:
Click the New ![]() button from the toolbar to add a new report defaults set.
button from the toolbar to add a new report defaults set.
Complete the fields described below.
OR:
Select an existing report defaults set from the list on the left, and click the Replicate ![]() button from the toolbar. Then change the field information as described below.
button from the toolbar. Then change the field information as described below.
Edit the current selection:
Change the field information described below.
Report Name: This is a drop-down menu of the available report options for which printing default options may be set. By default, Travel Agent Checks is selected.
Note: Travel Agent Checks may be the ONLY option available.
Note: Only ONE Report Name entry may be saved.
This field is required.
Top: Enter the number of twips from the top of the page that the report should begin printing.
Left: Enter the number of twips from the left side of the page that the report should begin printing.
Note: "Twip" refers to a measurement, calibrated as 1/20 of a typographical point, with the name being derived from the phrase "TWentieth of an Imperial Point". As indicated, there are 1440 twips in one inch.
Once these details are complete, save the report defaults using the Save ![]() icon in the local tool bar. The report name will now be entered onto the left side of the Report Defaults screen, and the report defaults for that report type will be used when printing.
icon in the local tool bar. The report name will now be entered onto the left side of the Report Defaults screen, and the report defaults for that report type will be used when printing.
Note: Only ONE set of report defaults may be saved per report type option. If you attempt to save multiple sets of report defaults, instead of saving (and generating a new entry on the left side of the screen), an error message informing you of this will appear.
To modify an existing Report default set, you will need to first select it and display it on the right side, before editing and saving. (An existing record will not have the drop down field for Report Name available to change, rather it will be set as read only).
Any existing entry may also be deleted simply by clicking the red "X" in the local tool bar.


